Monday, 2 July 2012

Asparagus Ravioloni


Pansotti, ravioloni, whatever. Filled pasta shapes with a yummy filling. If there's a true Italian reading this or a pasta connoisseur, let me know what they should be called. Nevertheless, here's a surefire meal to get a good number of your dishes dirty. Filled fresh pasta takes time and effort to prepare but it's worth it. If you have a kitchen assistant, make good use of them!

This recipe progresses assuming you have your pasta dough ready. You can make the dough, instructions here, while you are boiling the artichokes (or buy pre-fabricated fresh pasta sheets). While the dough rests, prepare the veggies and roll pasta when the asparagus is boiling (cover so that it doesnt dry while you prepare the filling). You can leave bacon completely out (add some salt to the filling then), or replace it with kalamata olives. Use 10+ olives according to taste. I suggest adding some first and tasting if it needs more. If you want more chunky feel to the filling, dice some of the cooked asparagus or bacon very finely and add to the filling after it's been trough the mixer. If your filling is too runny, add more parmesan to make it a stiffer. The filling should not be too moist as it has to stay put in the middle when you make the ravioloni shapes.

You can add different type of vegetables to sauté, and some herbs or seasoning. I purposefully kept it very simple for not to clash with the fine taste of the filling. I surmise some smooth sauce with not-too-complicated/pungent a taste would be fine. This recipe makes a light meal for 2.

  • 250 gr asparagus
  • 2 largish jerusalem artichokes
  • 2 summer onions with green stalks
  • 1-2 garlic glove(s)
  • 8-12 mini plum or cherry tomatos
  • 15-20 large basil leaves (filling + a few for the saute)
  • Pasta sheets (1 large egg dough here)
  • Half a lemon
  • Black pepper, salt
  • 170 gr bacon 
  • 1 dl + grated parmesan (filling + garnish)
  • Olive oil for sauteing


1. Peel Jerusalem artichokes, put them into cold water and to boil. Add a pinch of salt and a touch of lemon. Boil until a fork easily sinks in but the chokes are not too soggy. Put in cold water to cool and set aside.


2. Put a large pan with water to boil. Snap the hard bit off (discard) and peel the asparagus. If you are using very thin asparagus, dont bother to peel, just rinse well. Cut the tip off and set aside. When water boils add asparagus stalks to the pan with a pinch of salt and a squirt of lemon. Let lightly boil until a fork sinks in, then drain.


3. While artichokes/asparagus boil slice summer onions and garlic. Divide onion cuttings into 2 equal piles, light end to the filling and the darker ends to the sauté.


4. Halve tomatos and put aside with asparagus tips, garlic and green onion stalks.


5. Grate parmesan and set aside.


6. Trim fat off the bacon and cut very finely first to strips and then very small squares.


7. Fry the bacon until it is done and lightly brown here and there. Put the pan aside, don't rinse as you can use it for the vegetable sauté later and make use of meat juices in the sauté.


8. Drain the artichokes and put with asparagus, bacon, basil leaves and one of the summer onions into a bowl and puré with a stick mixer. Grind black pepper into the mass, approx. 0,5 tsp or to taste.


9. Add a generous squirt of lemon and a good pinch of parmesan. Mix again. Taste for salt (I didnt add any as the bacon is salty enough). Put your big pasta kettle to boil.


10. Spread the pasta sheets on a slightly floured surface and cut in squares. You can make for instance 6-8 big ones or ~14 smaller ones. Bigger ones are faster to make but the filling/dough ratio might not be ideal. Fill a cup with water and put it next to pasta sheets.


11. Add the filling in the middle.


12. Lightly moist the sides with a brush. Dont make the sides too wet or the dough doesnt stick well.


13. Pull the other side to overlap so that the borders are as even as possible, grab it from both sides with your fingers and flip it so that the intact side points downwards. Gently press the sides together, working from bottom to top. If you added too much filling and it starts to spill out, just press it through, wipe away and press the sides gently but firmly together.


14. When the water boils, put the ravioloni in and let boil lightly for a few (3-5) mins. Do not let water boil too vigorously or your ravioloni might break. You can carefully cut a piece off the pasta and taste for readiness. Or save some excess cuts, press them together, put in with ravioloni and fish out for checking. Drain, set aside.


15. When pasta is ready, quickly saute onion, garlic and asparagus tips in olive oil. After a few minutes, add tomato halves and saute until they look a bit suffered. Add a light sprinkle of salt if you washed the pan after frying the bacon.


16. Mix pasta with sauted asparagus tips and onion on the pan, rip a few basil leaves over and, turn gently and let warm up.


17. Scoop on a plate, garnish and serve.

Sit down and enjoy with a good wine, you have deserved it after all that hard work!

Friday, 29 June 2012

Part II: Can You Roll your Tongue?

Here's something I come up with for a Saturday meal. I had a piece of tongue left, and was supposed to make winter chanterelle risotto to go with it. So there am I, wondering what to do with the tongue. My last attempt, to dice it finely and shove it in the risotto wasn't too great a success. Not horribly bad but didn't do justice either to the risotto nor the tongue. So what to do, what to do?!

I grabbed the lappy and googled. Not very many recipes of that sort kicking about but I saw a picture of finely cut tongue over risotto. (Thanks!) That gave me an idea. Finely slice, add something nice over and roll? Yes, let's try that!


Tongue Rolls with Winter Chanterelle Risotto


This meal is best to be done in the following order:
1. Slice, cut and chop non-meat items you need for both risotto and tongue rolls. Put the mushrooms to soak. You can also put the stock to simmer for the tongue.
2. While the stock simmers, slice the tongue.
3. Prepare the rolls and put them into oven. (See recipe below)
4. Prepare the risotto. (See recipe below)
5. Take the rolls out of the oven and serve over risotto.

Tongue Rolls

  • 1-2 tsp grated lemon rind
  • 1-2 tbsp lemon juice
  • 1-2 tbsp olive oil
  • 2-3 basil leaves
  • 2-3 sage leaves
  • Piece of tongue from the thicker end, approx. 10 cm
  • black pepper
  • grated parmesan or flakes
1. Put the stock to the boil. Add 1-2 tbps lemon juice. Let it simmer until its reduced to 50% or so. Taste it occasionally, it is ready when it develops a good strong but not too pungent flavour. Thicken the sauce.
2. Grate the lemon, chop herbs finely and mix all except for parmesan. Set oven to 150C.
3. Cut the tongue into very thin (few millimetres) slices. This mix makes enough for about 15 slices.
4. Brush one side of the tongue slice with the lemon-herb mix and sprinkle some parmesan over.
5. Roll the tongue tightly, secure wih a coctail stick if needed and place in a oven proof dish.
6. Pour over the sauce, stick into oven and let heat up for about 20 mins.


Winter Chanterelle Risotto

This is a non-meat version of winter chanterelle risotto. If you rather use some other kind of mushroom, it should be as good as well. You can combine mushroom-soaking water with stock if you want more mushroomey taste to the risotto. If you dont want to use wine, just replace it with stock.
  • 1,5 dl arborio rice
  • 1 small onion quite finely chopped
  • 7 cm piece of celery sliced
  • 1 dl dry sherry or 1,5 dl white wine
  • 1,5- 2 dl of dried winter chanterelles
  • 1 dl grated parmesan
  • 6-7dl (or so) low salt chicken stock
  • butter for frying 


1. Soak mushrooms in cold water, 10-15 mins is enough. Dice and slice all veggies.
2. Fry mushrooms lightly on medium heat. Put the mushrooms aside.
3. Put stock into a kettle and bring it near boiling temperature.  
4. Saute onion and celery, add rice and let it get slightly glassy look.
5. Pour in wine and let it lightly boil while stirring. Let rice absorb wine before adding stock.
6. Add the first ladle of stock, let the rice absorb it while stirring occasionally. Do not let the risotto boil vigorously.
7. Repeat 6 until the rice is almost done (when there's still something to bite but the hard starchey quality is gone) and put in the musrooms.
9. Add stock and let the rice absorb it. Test the rice and add some more stock if it's not ready yet, let absorb.
10. Take the pan off the heat, mix parmesan in and let it melt.
11. Pile on a plate, put some tongue rolls on top and serve!


Monday, 25 June 2012

Zabaglione Mini Baked Alaska

Lately I've been learning to make zabaglione. The process itself is straightforward when you get the hang of it but silly me couldnt just be happy with scooping zabaglione over berries. Another twist is that the local liquor stores here dont sell but sweet Marsala. Well, to be honest, I even did one experiment with cherry liquor. Technically, it can be done but oh my it was sweet! Nevertheless, here's a version I am happy enough with to share it in the blog.

When I make desserts like this one, I usually pay a lot attention to sugar and sweetness. I like sweet but not too sweet. My taste for sugar has seriously declined (Or developed? Your call.) since teen years. Back then we used to joke that sugar in coffee is not for sweetening but thickening. Now I can't ingest it too sweet. Still like sweet more than my mom, whose gift choc boxes usually eats yours truly. My dad, oh well, he can down a Fazer Blue bar in a respectable time.

My steamer boiler thingy
Concerning this recipe, 1 xl egg (73-80 gr) should be enough to cover a portion for 2 persons, for one it's maybe even a bit too much. I tried to use one medium egg, and it proved difficult; heat management was more difficult and the egg curds easy as there is so little of egg mass to heat. Anyways, this is a good recipe in that way that you are not left with extra egg whites wondering what to do with them.

Pictures are from a portion with 3 ladyfinger bisquits, which makes a abundant dessert for one (or 2 on a diet). Add a few more bisquits for 2 gourmands. This dish is easy to spoil by daydreaming, so make sure you can work without delays and interruptions. You also need a two-storey kettle or some other means to keep the bottom of the bowl out of simmering water, and a metal bowl for whipping.

And for those who are still wondering, ice cream does not melt in the oven because air that has been whipped into egg mass provides insulation. When the egg mass has been cooked, then heat can access ice cream and melt it, so be sure to take your baked alaska out in time!

Ingredients for zabaglione baked alaska:
  • 2-5 savoiardi/ladyfinger bisquits
  • 1 egg, separated
  • 25 cl Marsala (dry)
  • 0,75 tbsp sugar
  • 3-5 tbsp cherry, raspberry etc. jam
  • 0,5+ dl sweet wine, juice or liquor to moisten the bisquits. I diluted cherry liqour.
  • Plain vanilla ice cream

During my experiments I also came up with a Finnish version. Arctic cloudberry (hilla) works fantastically in zabaglione! Yummmmy! To be honest, I prefer it over Marsala. I heartily recommend to try it if you can get your hands on arctic cloudberry.
  • Use arctic cloudberry liquor instead Marsala ( a generous 1 tbsp)
  • Do not add sugar to the yolk nor the egg white foam
  • Moisten the bisquits with diluted (50/50) arctic cloudberry liquor or apple juice
  • Use low-sugar apricot or arctic cloudberry jam or even fresh fruit/berries pureed with a small pinch of sugar

1. Fill the kettle with water and put to simmer on medium heat.

2. Put bisquits on baking parchment and moisten generously with liquid of your choice. Soak them well, 'til they turn darkish from the liquid. They need to become soft.


3. Separate egg, white in one bowl and yolk in the metal bowl.

4. Start whipping the egg yolk with sugar until it foams lightly.

 5. Add Marsala and transfer the bowl to the boiler. The bowl itself must not touch water.

This is a picture from another zabaglione experiment but demonstrates the kettle system
6. And keep on whipping. If the egg mixture doesnt begin to heat up despite minutes of beating, add heat very carefully.

7. Still keep on whipping. Depending on the number of eggs this can take a good while. Check with your finger that the foam doesnt get too hot, or it curds. You should be able to put your finger in. If it starts to get too hot, remove from heat for a moment.

 
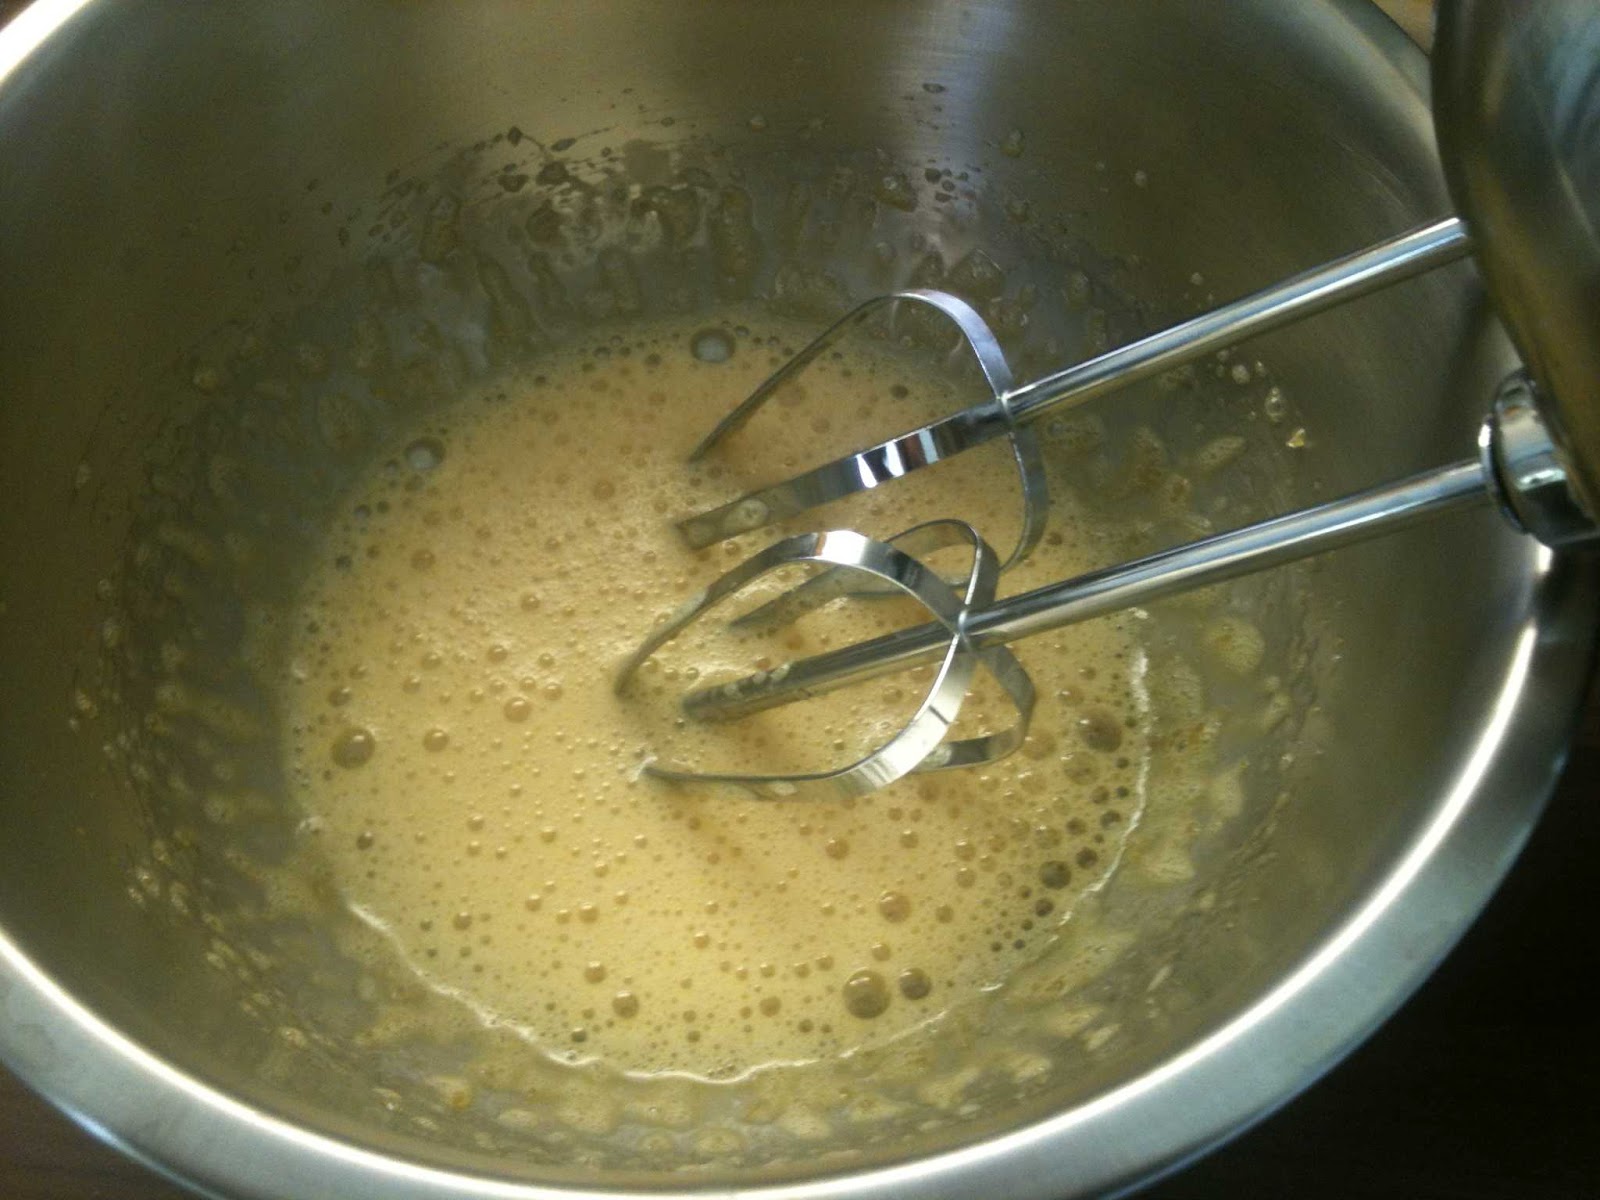
8. Now it starts to look like it's ready. Note how the foam keeps the waves and shapes after beater movement.

9. That's it ready!

10. Beat the egg white into stiff foam. It should stick to the bowl even if you turn it upside down.

11. See, it sticks there.
12. Mix egg white foam into zabaglione very tenderly. See that it makes a nice perky foam able to "stand on its own", it must stick to the sides and stay over ice cream. If there is excess egg white foam, discard it.


13. Put some jam over the bisquits.


14. Put ice cream over the bisquits.


15. Finally coat the whole thing with zabaglione foam. Be very careful especially to cover the ice cream so that it wont melt. Then rush it into oven.


16. Bake in 250C for 2-3 mins, until the foam gets a nice golden brown hue. 


17. Cut, put it on a plate and serve immediately.

Saturday, 23 June 2012

Midsummer Special: Oven Sesame and Barbeque!

I honestly didnt mean to make this post. The meal just turned out so well I could not resisist. It is weird how dishes you plan carefully, research and reflect, take several experimentation rounds to reach the desired quality. Then you do something rather impromptu, and it comes out fantastic!

Midsummer if any is the time of year when you should be roasting your stuff over a grill. I dont happen to own a grill, then my oven must do. Ok, I fried the chick on the pan but you could easily barbeque the whole set. This plate consists of veggie skewers, sesame coated chicken breast fillets and blue cheese champion mushrooms. This recipe makes for 2 hungryish eaters or 3 light eaters.

Vegetable skewers


I used metal skewers but if you have wooden ones, dont forget to put them to soak a few hours before. In this recipe everything is rather inaccurate, depending on taste and what you have handy. 1 long skewer or 2 smaller ones should be enough to feed one person.

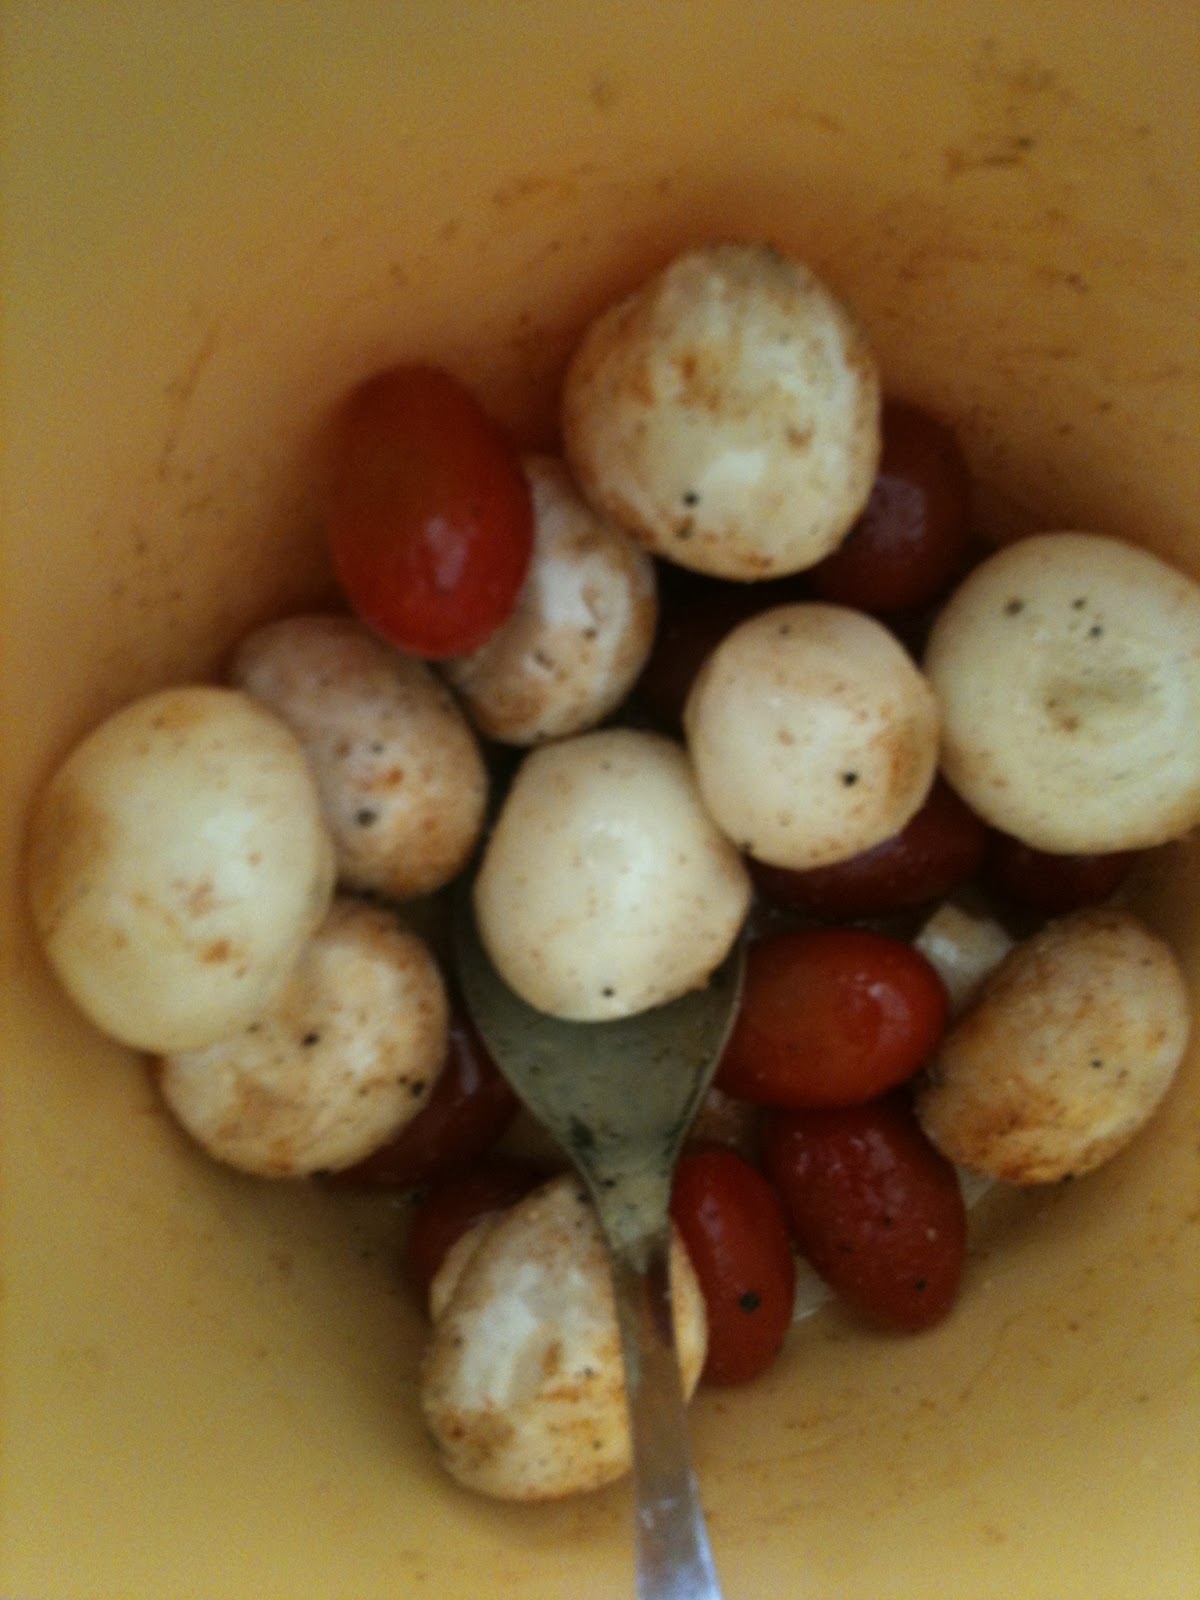
You can also use mini champion mushrooms
  • 8-10 mini plum or cherry tomatos
  • Half of a large yellow bell pepper
  • Stems of 4 large champion mushrooms
  • 4-6 very small onions
  • rape-seed or sunflower oil
  • salt, pepper, paprika powder, chili etc. to taste
1. Peel onions, cut bell pepper in large square pieces, rinse tomatos and brush mushrooms (separate the stem), cut the browned part of stem off.
2. Put all ingredients in a bowl and add salt, pepper and spices. Add oil. Dont be too sparing with oil as the veggies are on their way to the grill and require some coating protection from the heat; on the other hand it's not necessary to soak them in oil.
3. Mix with a spoon so that everyting gets nicely coated with oil and spices.
4. Put the vegetables to 2-4 skewers and set aside.


Blue Cheese Champion Mushrooms


This is a summer classic! Bacon pieces are optional. You can use prosciutto instead, and my definate favourite is prosciutto added afterwards, as a topping. Some add onion into the cheese or under it, too.
  • 4 large champion mushrooms
  • 4-6 generous tbsp blue cheese
  • 4 pieces of bacon (optional)
1. Brush the mushrooms clean with a baking or mushroom brush or kitchen tissue.  Do not rinse, it is a criminal act to rinse fresh mushrooms!
2. Gently push the stem to side, it should loosen with a mild snap. Take the stem off.
3. Fill the cavity with blue cheese and wrap a strip of bacon over. Set aside.


Garlic Yoghurt


Another classic and traditional companion to meats and grilled food. Simple to make and taste develops overnight, so if you can make it beforehand, the better. 
  • Garlic gloves
  • Turkish or Bulgarian, plain non-flavored yoghurt
1. Put yoghurt in a bowl, press garlic over.
2. Mix, set aside to set. Probably even better the next day ;)


Chicken Breast Fillets with Sesame Coating 


The original plan was to make chicken skewers. Then I recalled I had egg whites sitting in the fridge from zabaglione experimentations. (3 of them was more than abundant for coating 3 breast fillets) Since the oven was getting crowded anyways I decided to put them chicks on the pan. Sesame seeds, why not?! Sesame coating gives a nice, crispy coating with nice feel.

  • 2-3 skinless, boneless chicken breast fillets
  • 1-2 egg whites
  • 2 dl (approx.) sesame seeds
  • Butter, for frying
1. Take the fillets to room temperature 30-60 mins before cooking. If it's very warm, shorten the time or prepare immediately.
2. Pound them fillets gently with your knuckles to flatten them a bit.
3. Whisk salt and pepper into egg whites.


4. Put sesame seeds in another bowl.


4. Dip the fillets in egg white (one by one), then in sesame seeds. Let the egg white drip from the fillet before putting into sesame seeds.


Putting it All Togeher

1. Put the oven grill to 250C and heat up your frying pan (with an option to use lid, preferably).
2. Melt butter in the pan and when its bubbled and hot, add the chicken pieces.
3. Fry them from one side for 5 mins, then put the mushrooms and skewers into oven, as close as the roof with grill as possible.
4. Turn the chicks over and fry 5 more mins. Check the oven, and lower the grill pan if the vegetables start to go too brown.
5. Put the lid on, turn heat off and let the chicken fillets steam for a few mins. Take the grilled veggies from the oven.
6. Serve with garlic yoghurt!

Thursday, 21 June 2012

Finnish Pancake

 I am posting this a day before my regular schedule, as Finnish Midsummer festivities are starting tomorrow. Finns celebrate the nightless night of Midsummer with vigor; favorite activities are barbequing, bonfires, drink, music and dance. I am past the wild party phase, so I just have my mother over and I am gonna feed her my latest cooking notions. Let's see if you get a picture later! Happy Midsummer everyone!

And now to the pancake.

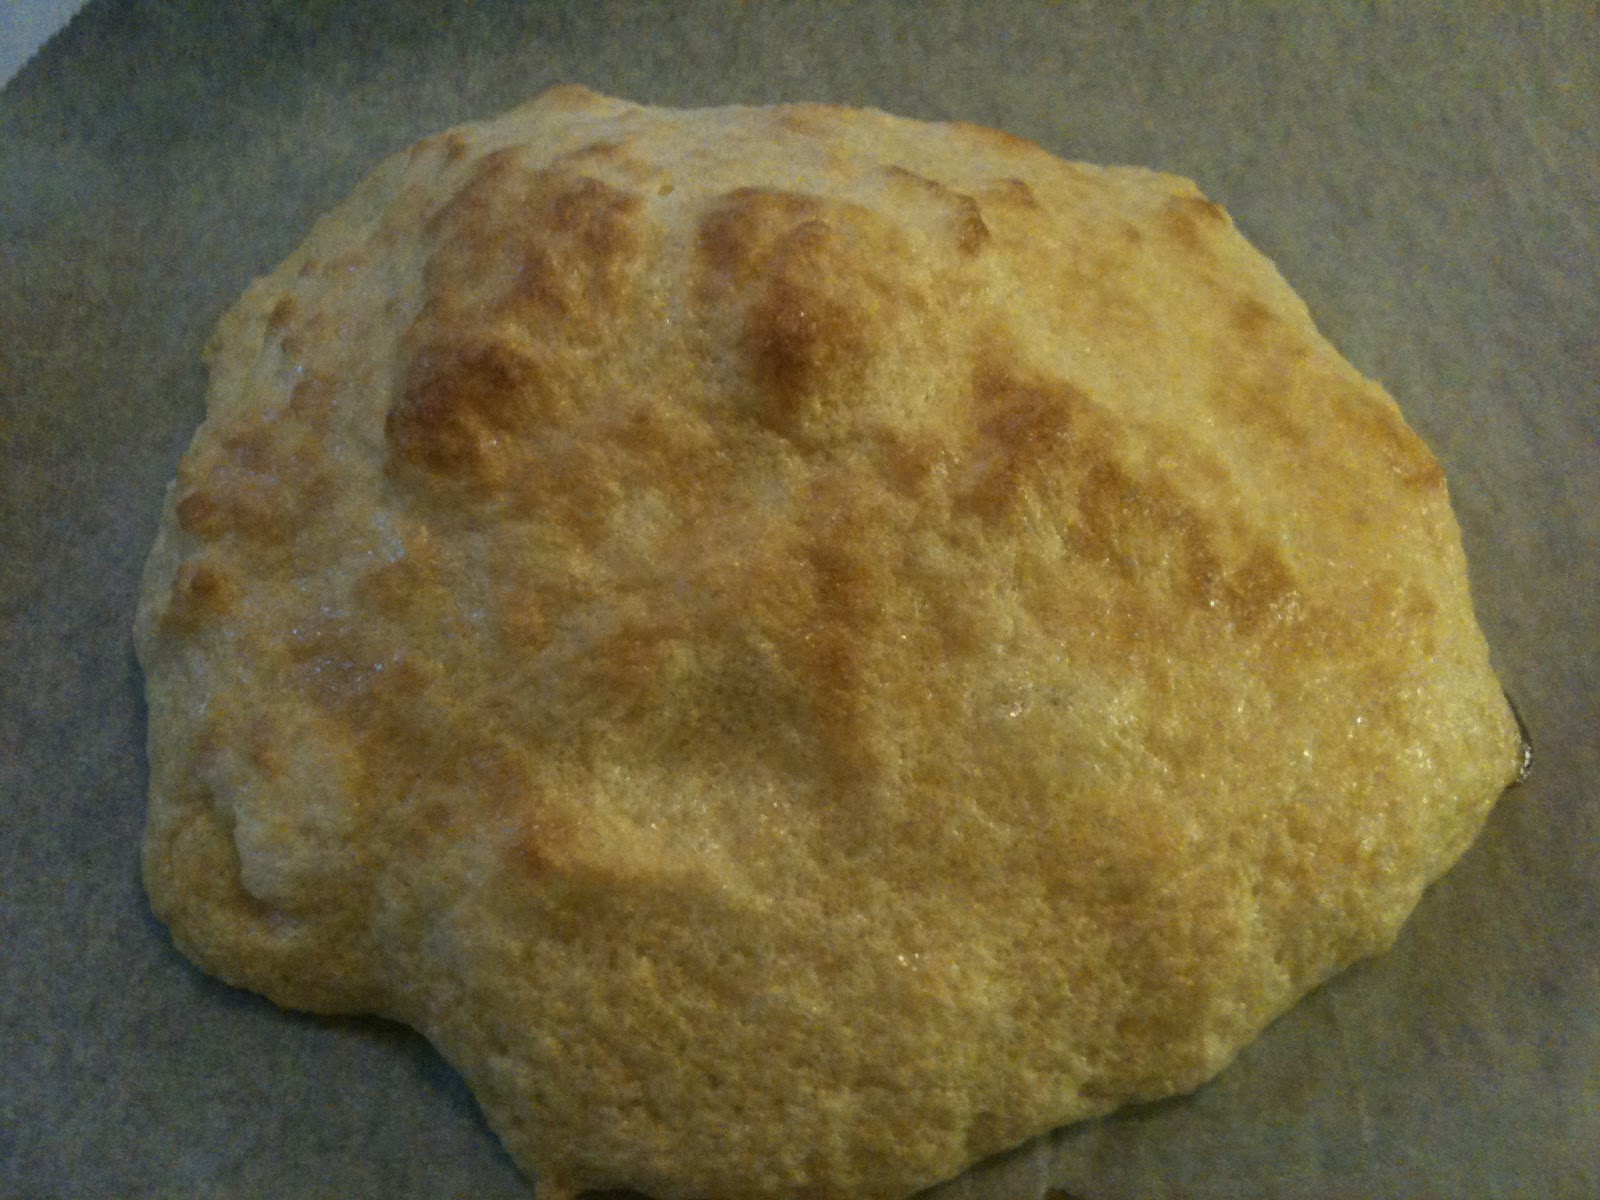
Almost done


 One of the goodies my gran used to make when I was younger, was pancake. Not what is internationally known as pancake but Finnish Pancake. I call this Finnish Pancake, as I haven't seen the name pancake used this way anywhere else nor heard of similar recipe from other countries (though I am quite sure there's something similar somewhere). Pancake in Finland is usually a form of crêpes, and called lätty, räiskäle or ohukainen. But then there's this other kind of pancake, (literally) pannukakku, in Finland. There's an interesting read in Wikipedia about different kinds of pancakes, if you want to read about regional varieties and history.

Finnish pancake is not what is usually known as pancake. More like baking tray cake. The dough used is almost the same as in your regular pancakes but you bake it in the oven in one big mass. My baking tray is 35cmx37cm (or so). Use a deep baking tray with high borders and line it with a baking parchment. You can, of course, use skimmed milk, oil instead of butter and use just 2 large eggs, if you want skinnier result. I won't guarantee the taste, then, but it's possible. Number of eggs depends on the size of eggs, and how rich and bumpy you want it. This pancake here has 3 large eggs whipped in. I've seen some recipes with more added sugar but since you have it with a sweet jam, ice cream and/or whipped cream, you could leave sugar completely out of the dough. Just maybe sprinkle sugar lightly over the pancake when it's out of the oven.

There are also salty versions of this, with for instance ham and cheese. For those, ditch the sugar, mix filling into dough and bake (and dont serve with cream and jam ;). My gran used to make a blood pancake in the oven, and it was very good with lingonberry jam. I think I need to fish the recipe out of her for future reference.

This is what you should get!
Nevertheless, here's the basic recipe for sweet pannukakku:
  • 1 L milk (semi-skimmed/whole)
  • 5 dl wheat flour
  • 3-5 eggs
  • 3 tbsp sugar
  • 1 tsp salt
  • 0,5-1 dl butter
To serve:
Jam, whipped cream or ice cream, sugar. Traditionally jams with strawberry, on it's own or combined with other berries or fruit are called "Pancake Jam" but any sweet jam will do.


1. Set your oven to 200C and line a baking tray with parchment.


2. Pour milk in a bowl and whisk flour, salt and sugar in. Let it sit until the oven is ready.


3. Melt butter. You can also cut butter in pieces and place them evenly over the baking tray before pouring in the dough.


4. Add eggs and butter.


5. Pour it in a baking tray covered with baking parchment.


6. Bake for 30-45 mins, until its golden brown and developed considerable bumps. Bumps, or Nattaset as my gran says. Nattaset are fells, very small mountains right at the bosom Maiden of Finland. And Maiden of Finland refers to the shape of the country on the world map.

Serve with cream and jam